Expenses track the money leaving your business — supplier bills, fuel, rent, staff reimbursements. Recording them keeps your reports honest and gives you a clear picture of profit.
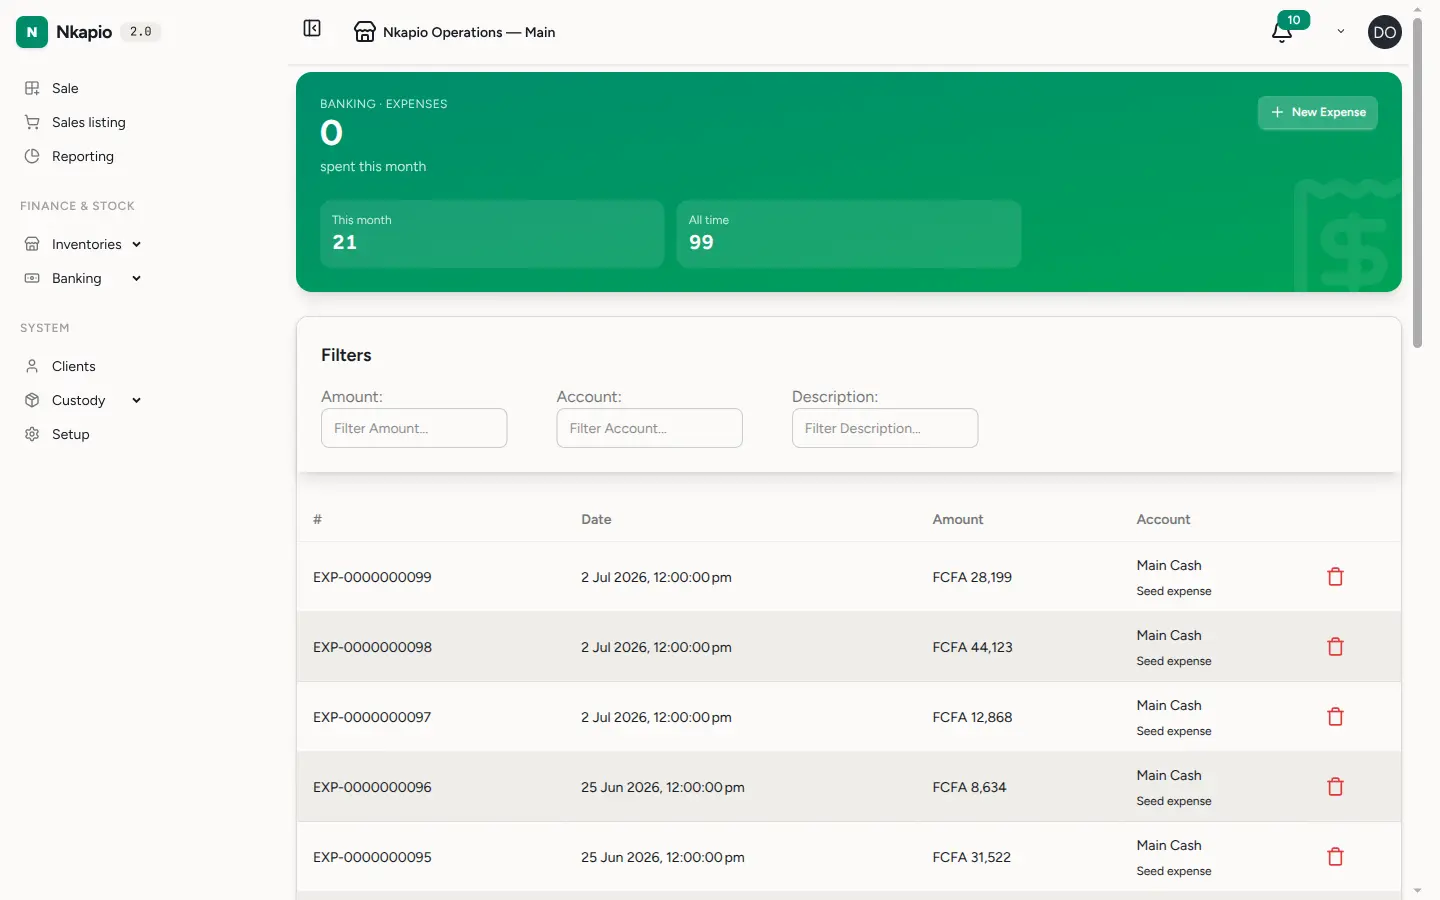
Step 1 — Open the expenses list
Click Expenses in the sidebar. Each entry shows its category, amount, date and approval status. Filter by category, status or date range to find a claim.
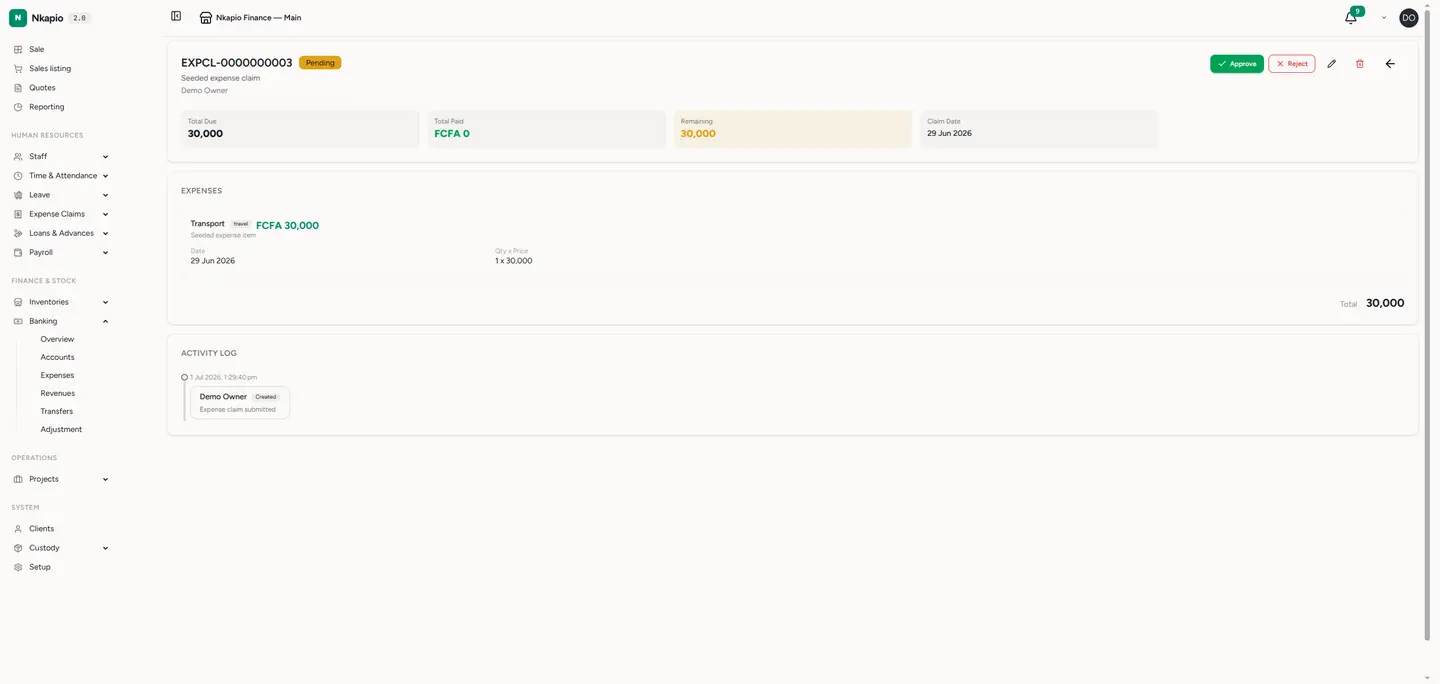
Step 2 — Review and approve
Click an expense to open it. You see the amount, category, who submitted it and any attached receipt. Approve it to post it to your books, or reject it with a note back to the submitter.
Step 3 — Record a new expense
Click New expense. Choose a category, enter the amount, pick the payment account, add the date and attach a receipt. Save it — it enters the approval queue if your workflow requires sign-off.
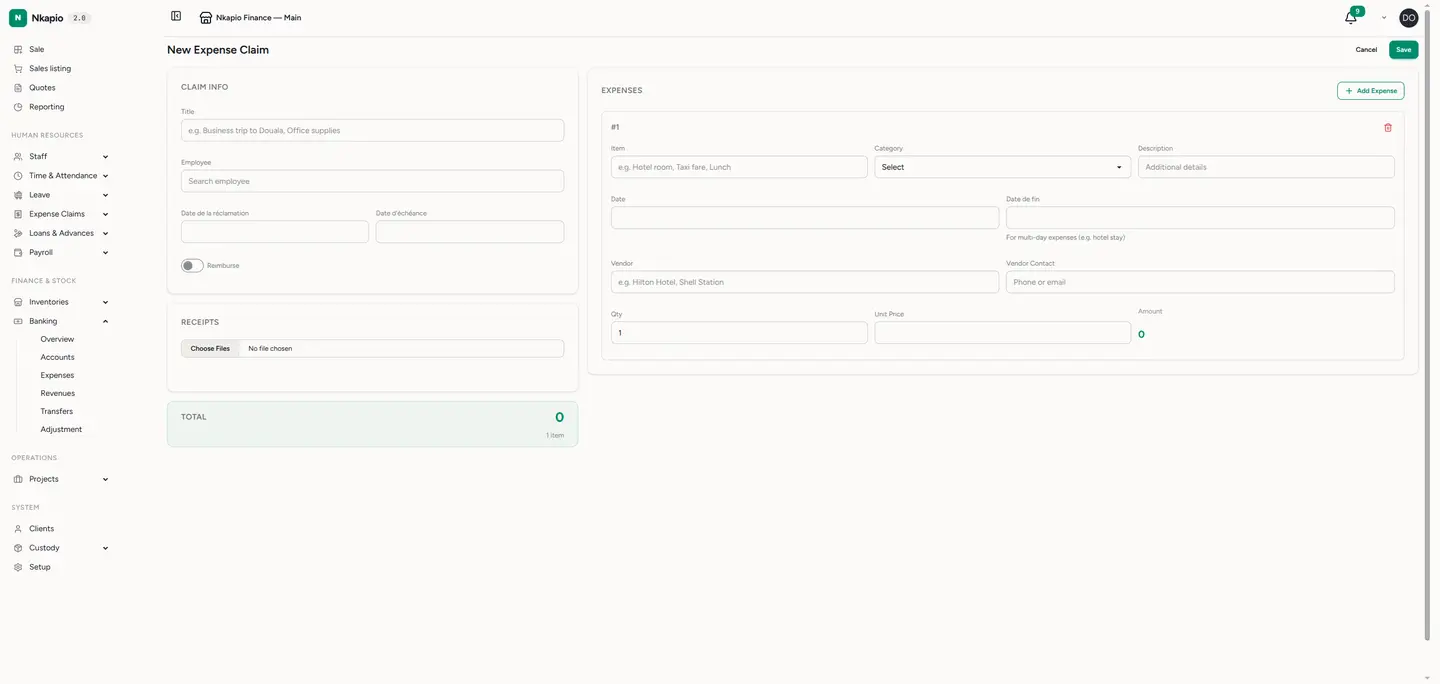
Tip: attach a photo of the receipt at the moment you record the expense — it stays linked so approvers never have to chase paperwork.